 |
OGRE 14.5
Object-Oriented Graphics Rendering Engine
|
 |
OGRE 14.5
Object-Oriented Graphics Rendering Engine
|
Ogre features a Python component that automatically generates bindings from the C++ headers. This allows you to use Ogre in your Python code with an API that largely mirrors the C++ API, meaning you can often refer to the existing C++ documentation and tutorials.
Beyond this direct mapping, the bindings also support standard Python protocols. This enables a more "pythonic" workflow, especially when integrating with other libraries like NumPy.
Additionally, Ogre provides a high-level API called HighPy, designed for convenience and rapid development by abstracting away many of the engine's lower-level details.
The HighPy module transforms Ogre into a lightweight Python renderer. As its name suggests, HighPy provides a high-level API that lets you get started quickly, even without extensive prior knowledge of the Ogre internals.
For instance, rendering a mesh is as simple as:
Want to display a background image? It's just one line:
Integrating an ImGui-based user interface is also straightforward. Simply define a callback and enable ImGui for your window:
For all details, please refer to the Python.HighPy module documentation.
The Python bindings support the standard python protocols. In this tutorial, we will look how we can advantage of this to achieve numpy Interoperability in a pythonic way.
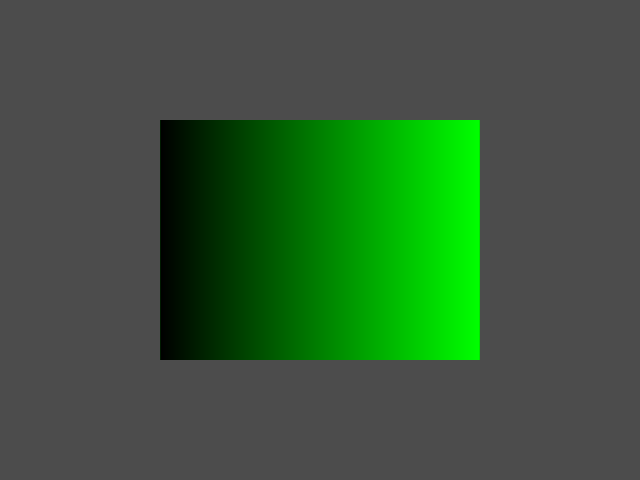
We start with a simple 3 channel python array representing a green gradient:

To be able to load it into Ogre we now have to convert it to Ogre.Image. The underlying C++ API takes a raw uchar*. However, the python bindings accept any object implementing the Buffer Protocol. This means we can pass the numpy array as is.
Note that Ogre.Image is merely a view on the underlying array and no data is copied. While this is efficient, it also means that you have to ensure that the array does not get out of scope manually. Otherwise the application will crash due to accessing an invalid pointer.
For completeness we also create a small scene where we map the texture on a screen-centred rectangle.
As the rectangle does not cover the full scene, we also set a background colour
Here, the standard python sequence protocol is used. Therefore, the data is copied.
Finally, we want read-back rendered image into an array. To avoid superficial copies of the data, we again allocate the memory with numpy:
Note, that the convention of specifying width and height is swapped between Ogre and numpy.
Now we can store the image to disk using pyplot.

By default, the Python bindings do not release the GIL (Global Interpreter Lock) during rendering. This design choice prioritizes performance by avoiding the overhead of constantly re-acquiring the GIL. However, it means that other Python threads will be blocked and unable to run concurrently with the rendering loop.
For example, the following code will not work as you might expect:
The "printer" Thread will be blocked until the rendering is finished.
To enable background threads to run, you can call root.allowPyThread(). This will instruct Ogre to release the GIL while waiting for vsync, allowing other Python threads to run during this idle time.