|
OGRE
1.11.6
Object-Oriented Graphics Rendering Engine
|
|
OGRE
1.11.6
Object-Oriented Graphics Rendering Engine
|
Ogre includes a Python component which automatically generates Python bindings from the C++ headers. However with Python you most likely do not only want to just use Ogre, but connect it to other components. For this we ship a small module called OgreNumpy that helps you converting between Ogre and NumPy.
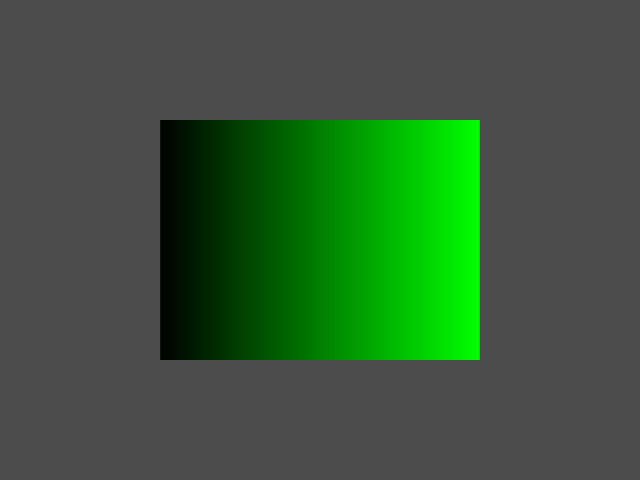
We start with a simple 3 channel python array representing a green gradient:

To be able to load it into Ogre we need a pointer that we can pass to Ogre.Image. For this we copy the contents of our array into an Ogre.MemoryDataStream. Here OgreNumpy.AsDataStream automatically allocates the MemoryDataStream of the according size and takes care of the copying.
While this is not the fastest option, we now have an Ogre data type, that we can use as usual and upload to an Texture.
For completeness we also create a small scene where we map the texture on a screen-centred rectangle.
As the rectangle does not cover the full scene, we also set a background colour
Here we use the normal python iterable unpacking. Again this is copying the data.
Finally we want to store the rendered image into a file. This time we manually allocate the memory with Ogre.MemoryDataStream to store the pixel values.
Finally we store the image to disk using pyplot.
To convert the Ogre.PixelBox to a NumPy array we use OgreNumpy.view. This function does not copy the data, but as the name suggests just creates a NumPy view on the underlying Ogre.MemoryDataStream. Using this pattern we could also have avoided the copy when loading the numpy array as a Texture.
 1.8.13